Welcome to HouseCanary! Get off to a flying start with this quick guide to setting up users, adding co-branding, and creating an API key. First things first: you’ll need to activate your account.
Your welcome email includes a button to activate your HouseCanary account. Make sure to open this email and click the button to create your unique password and get started without delays. If you expected a welcome email and did not receive one (after checking your spam filter) or the email does not contain a working link, please follow up with support@housecanary.com and we will help resolve the issue for you.
Setting up your user profile
Start personalizing your HouseCanary experience by setting up your user profile. Log into the Analytics Platform and click the head-and-shoulders profile icon in the upper right corner to open the Profile menu.
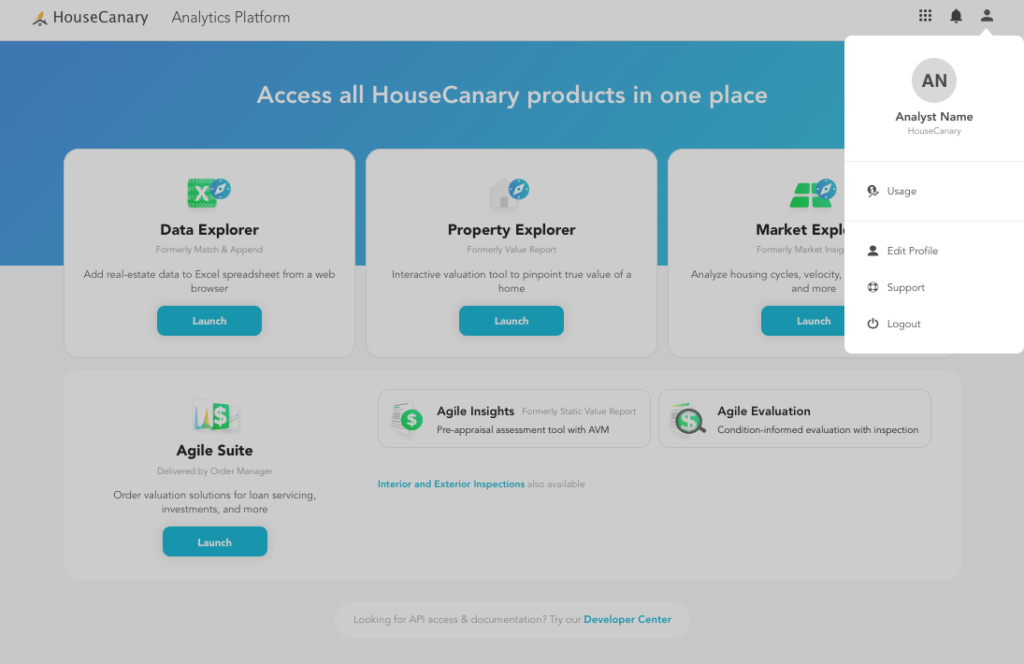
Click “Edit Profile” to open a Profile window where you can add your name, contact information, and any MLS affiliation you have. You can also access the Profile window with this direct link: platform.housecanary.com/profile .
Adding users in the HouseCanary Analytics Platform
Administrators can visit Organization Settings to manage user access to HouseCanary. From this page you’ll be able to check user status, set user roles, and remove users. Click the “Invite” button to add users from your organization. You’ll have the option to grant administrator access to users you invite. Users with administrator privileges will be able to invite and manage other users themselves.
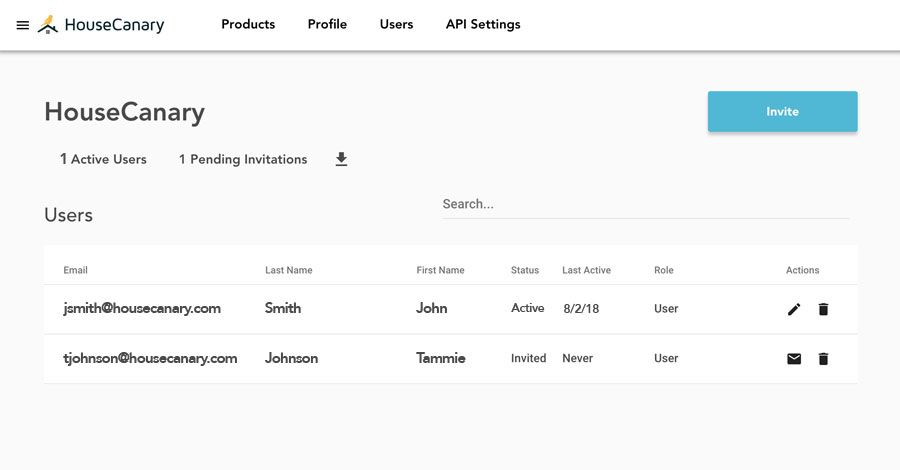
Use the toggles to set user access to specific HouseCanary tools in your organization’s subscription.

Adding your logo and co-branding
To customize co-branded Property Explorer reports, navigate to Property Explorer from the Analytics Platform dashboard or go directly to pexp.housecanary.com . Click on the profile icon at the top right corner to open the profile menu. Click “Personalize Reports” to add the information you’d like to include on Property Explorer reports.
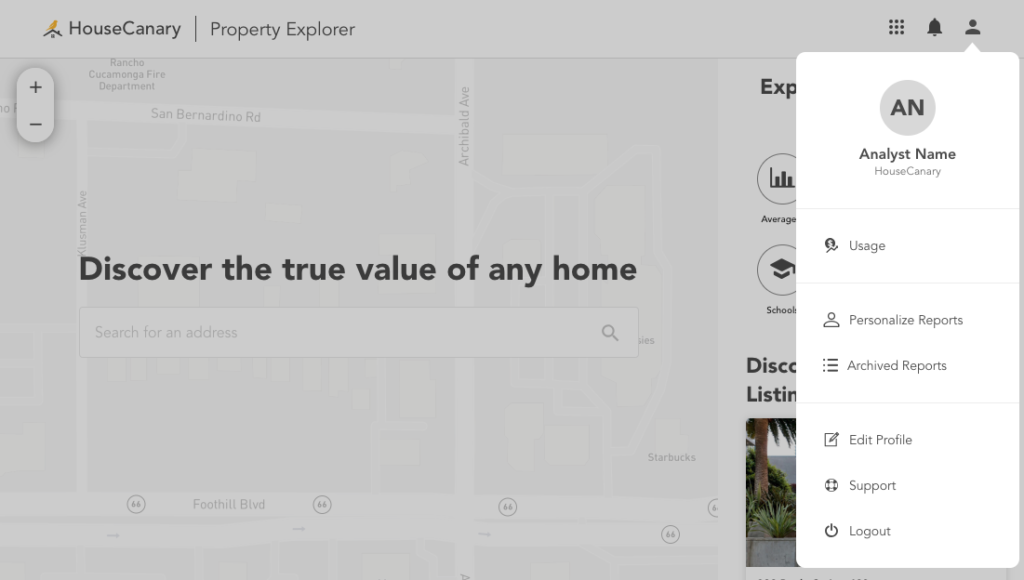
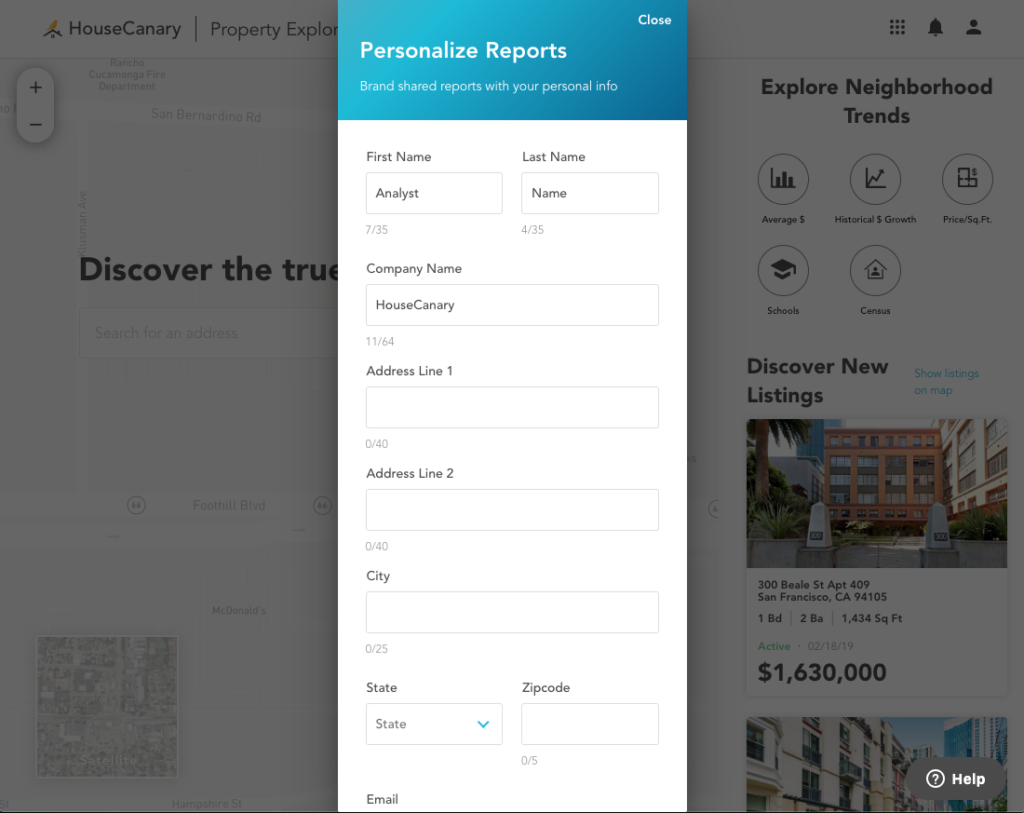
You can add any of the following items to the header section of your Property Explorer reports for printing or sharing electronically:
- First and Last Name
- Company Name
- Company Address
- Email Address
- Phone Number
- Website Address
- License Number (DRE or BRE)
- Personal Photo
- Company Logo
Any fields that you leave blank will be left off of the report.
Creating and managing API keys to call HouseCanary data
If you’ll be using HouseCanary for API integration, your first stop will be the Developer Center .
To access the API, the user account associated with your authentication credentials must have permissions enabled for all API components you are trying to call. You can see which components are enabled in the “Analytics API” section of the Developer Center.
Follow these steps to create an API Key or Test API Key. The Test API Key feature is useful for verifying functionality in a development or staging environment.
Step 1: Go to the Developer Center
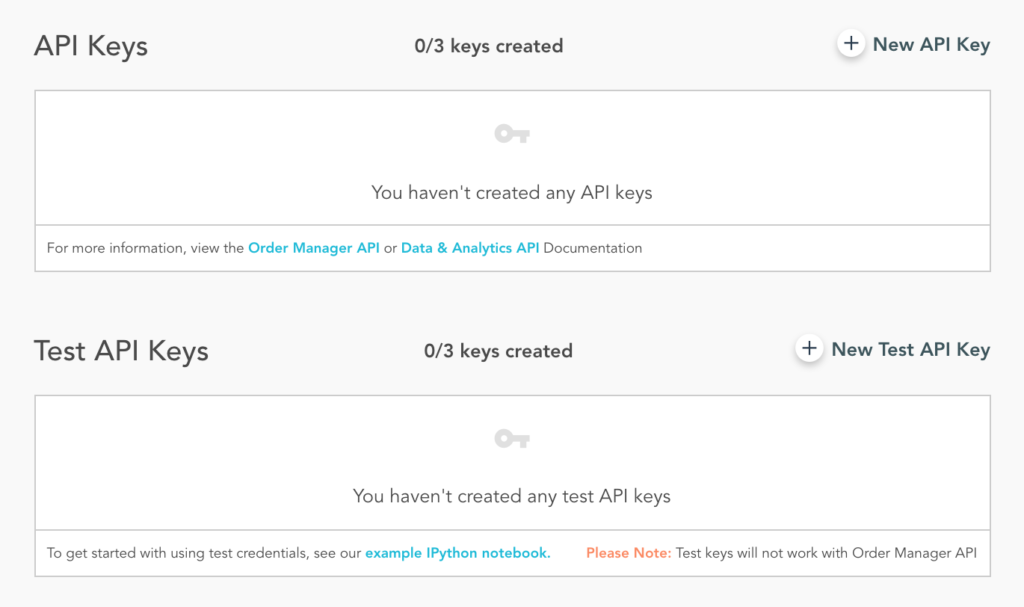
Log into your HouseCanary account at platform.housecanary.com or Data Explorer at dexp.housecanary.com , and click the link at the bottom of the page for the Developer Center . Developer Center is your HouseCanary API settings page.


Step 2: Generate API credentials
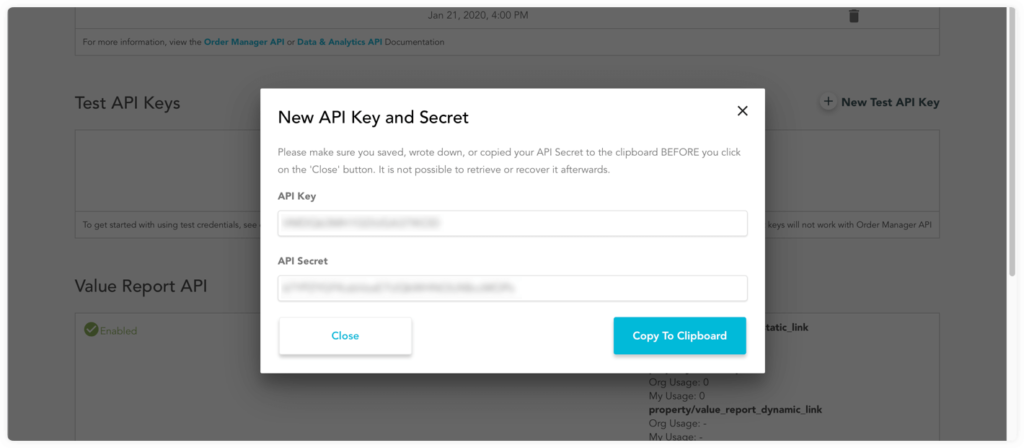
Click the “New API Key” or “New Test API Key” buttons to generate API credentials: an API Key and API Secret. Copy and paste them into a secure location or take a screenshot and store it safely. The secret cannot be retrieved again, and you will need both strings for every API call.
Step 3: Authenticate your credentials
Use your API Key as the user name and your API Secret as the password for Basic Authentication. HTTPS must be used for all API requests.
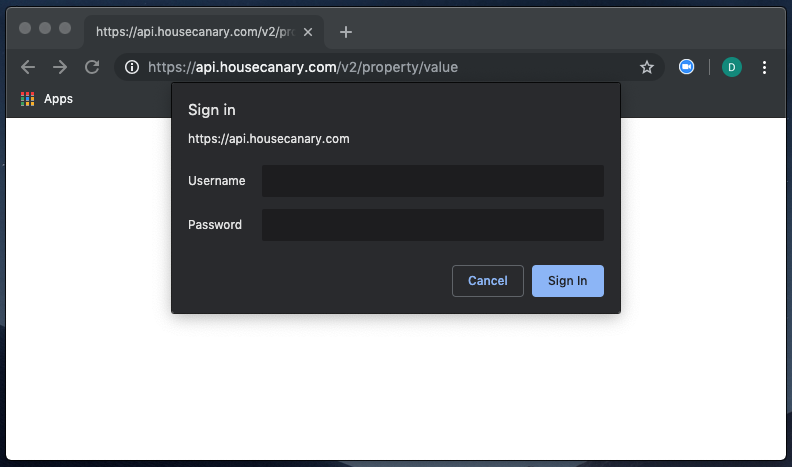
For authentication failure information, see here .
Each user can have up to three API Keys and three Test API Keys at any given time. To remove an API Key, click the trashcan icon located to its right. When prompted, confirm that you wish to delete.
For a deeper dive into HouseCanary API use, refer to the Order Manager API documentation and Data & Analytics API documentation links provided beneath the API Keys box in Developer Center.
Data Explorer also enables you to call HouseCanary Data Points for a pool of properties at one time without using the API. Select your Data Points of interest and upload a spreadsheet with property addresses, and we will match and append the information you need into an Excel spreadsheet.


